
Prescription Eyewear
Your Glasses, Built Here
Bring us your prescription. We’ll help you choose frames you love, then make your lenses in our own lab, just steps from where you sit.
The Right Frame, The Right Lenses
Whatever your prescription calls for, we can make it, from simple single vision lenses to progressives and prescription sunglasses. Every pair is fitted by our opticians and built around your day.
We make:
- Single vision glasses for distance or reading
- Progressive lenses for near to far without a visible line
- Computer and office lenses set for screens and desk work
- Lined bifocals and trifocals
- Prescription sunglasses
- Backup and second pairs
A good frame does more than look nice. It holds your lenses in exactly the right place every time you put it on. Our opticians help you choose by looking at four things together:
- Your prescription. We consider how your lenses and frame work together so the finished pair feels right, looks right, and works the way it should.
- Your face shape. We check bridge fit, temple length, and proportion so the frame sits level and stays put.
- Your coloring. The right frame color complements your skin tone, hair, and eyes.
- Your day. Screens, time outdoors, and hobbies all shape which frame and lens design fits best.
Once you’ve chosen, your glasses are built next door at Chadwick Optical, the lab eye doctors around the world have trusted with their most challenging cases since 1980.
From Our Lab to Your Hands
From the first fitting to the finished pair, your glasses stay in the hands of one connected team right here in Schwenksville.
-
Step 01 of 14
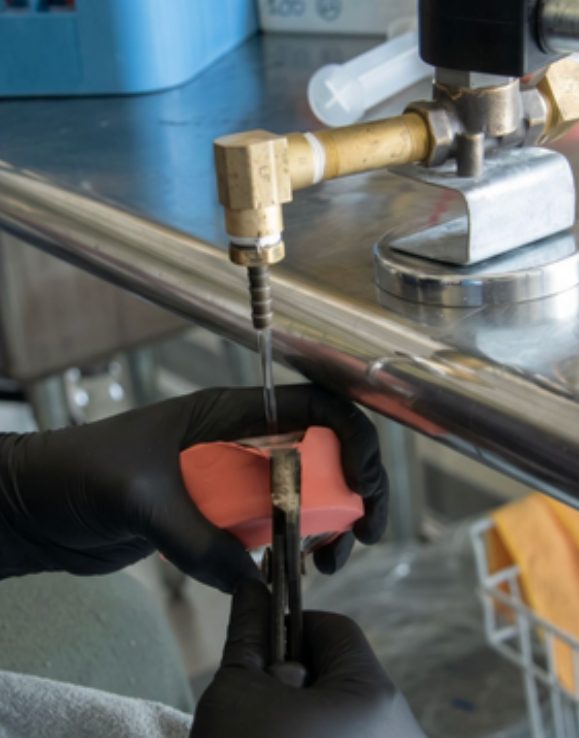
Lens Casting
Our techs pour a syrupy liquid called monomer into glass molds. The molds and their spacing set the front curve, back curve, and thickness of the lens. The lenses then cure in a programmable oven for nearly 24 hours, shrinking by about 13% along the way.
-
Step 02 of 14
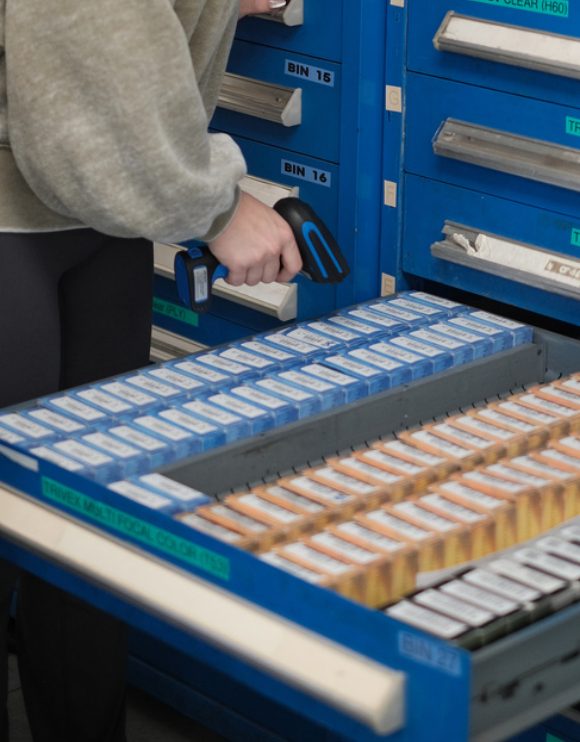
Lens Selection
Our techs choose from thousands of lenses to pick the perfect canvas for carving your prescription. Options include different curves, materials, and coatings, plus front surface treatments like photochromic or polarization. Picking the right starting lens sets up every step that follows.
-
Step 03 of 14
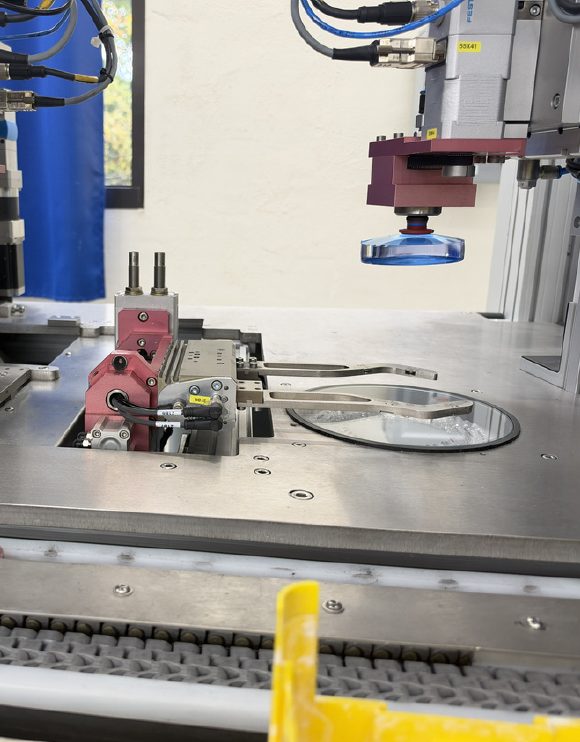
Surface Blocking
After a protective tape goes on the lens, blocking prepares it to be ground to your prescription. The block is made from an alloy that’s liquid at 117° F and solid at room temperature. It holds the lens steady as it moves through our machines.
-
Step 04 of 14
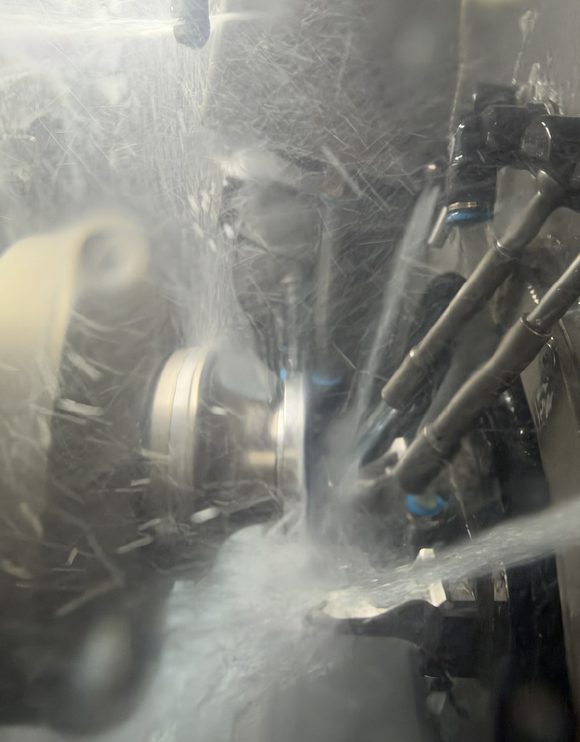
Generating
Using the details from lens selection, we create a file with thousands of topographical points and load it into the generator. The machine makes progressively finer cuts, finishing with a diamond blade that carves a precise shape into the back surface of the lens.
-
Step 05 of 14
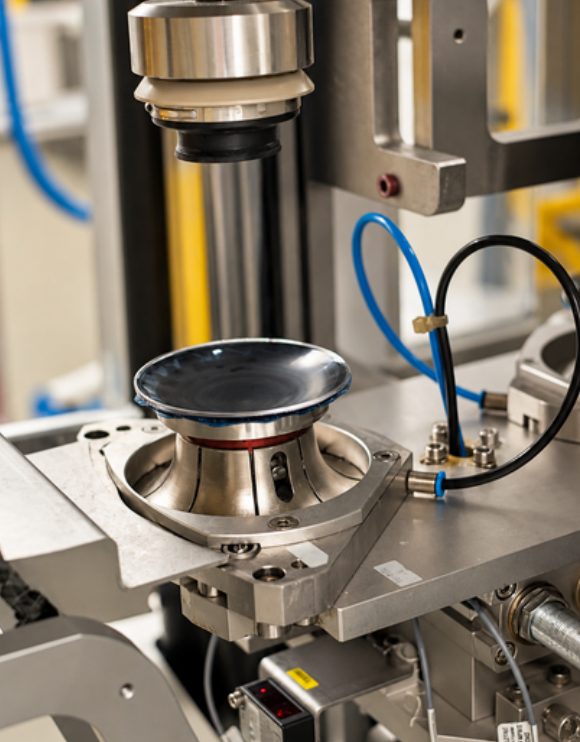
Laser Engraving
After generating, each lens is laser engraved with identifying marks. Some guide our machines as they orient the lens in later steps. Others stay on the finished lens, faint enough you won’t notice them, so an optician can identify and orient it down the road.
-
Step 06 of 14
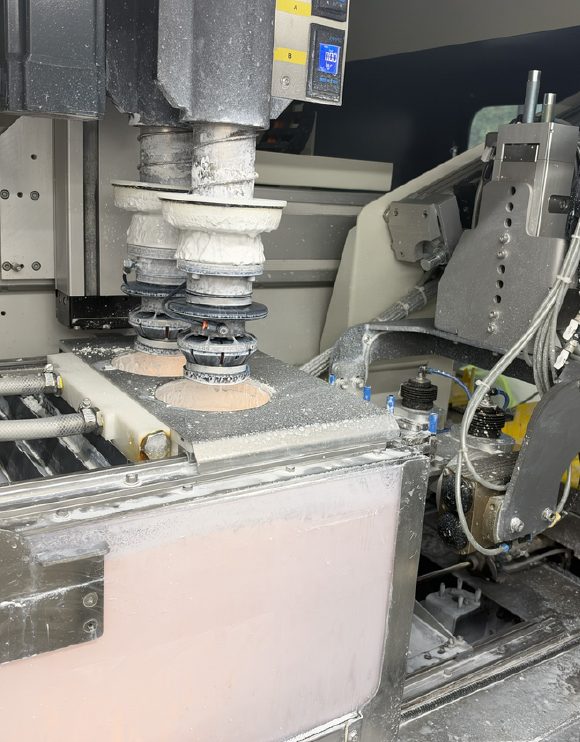
Polishing
Look at a freshly generated lens under a microscope and you’ll see concentric circles left by the path of the diamond blade. Polishing gently removes those marks, leaving a smooth, clear surface. Without it, the lens would look frosted, like a bathroom window.
-
Step 07 of 14
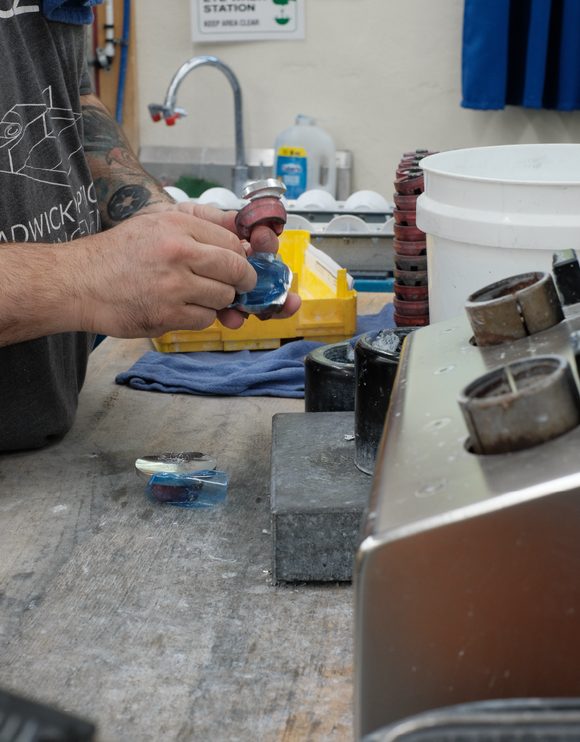
Deblocking
Once we visually inspect the lens surface to make sure everything met expectations, the block comes off. The alloy is heated, melted, and stored in liquid form, ready to hold lenses for the next pair of glasses. We reuse it over and over.
-
Step 08 of 14
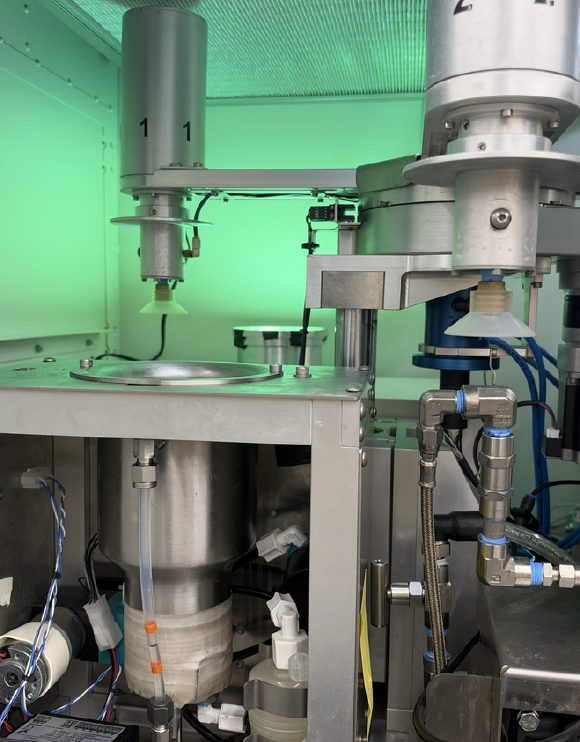
Scratch Resistant Coating
Machining leaves the lens material tender and easy to scratch. We spin the lens so centrifugal force spreads a microscopically thin layer of lacquer across the back surface. The lacquer is then hardened under a UV lamp, giving the lens a tougher skin.
-
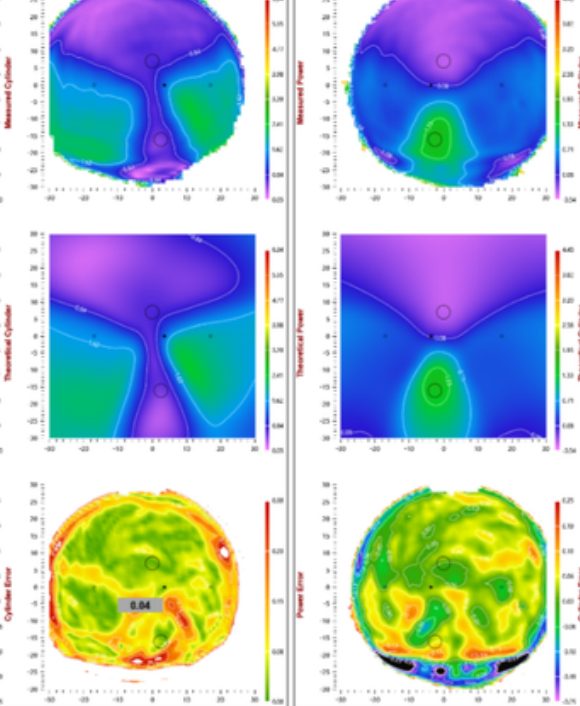
Step 09 of 14
Lens Mapping and Inspection
Mike Tyson once said, “Everybody has a plan until they get punched in the mouth.” Lens mapping makes sure everything went according to plan, checking the prescription and the whole lens surface for anything that could affect your vision. Then the round, uncut lens heads to finishing.
-
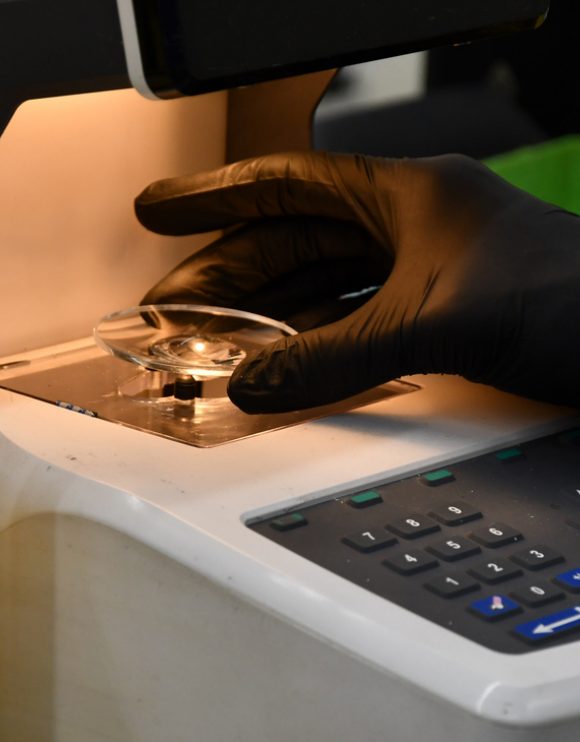
Step 10 of 14
Tracing & Shape Capture
Tracing captures the shape and circumference of the lens, storing it as hundreds of polar coordinates that tell our other machines where to cut. Some shapes need extra programming for clip-on magnets, sunglass edge treatments, drilled holes, or a Z87 safety engraving.
-
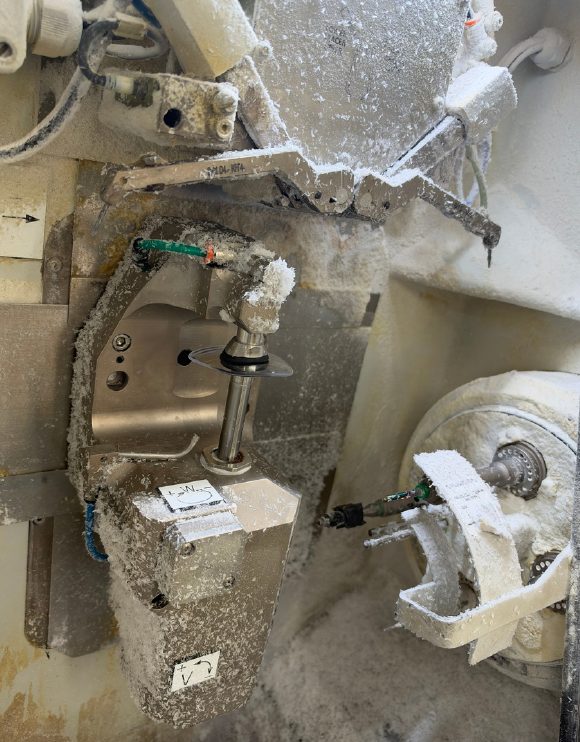
Step 11 of 14
Edging & Glazing
Glazing is an old school term for installing windows, but we like it. Our 5-axis CNC edgers can cut almost any shape or edge. The key is the bevel, which has to match the recessed bezel inside your frame. Get it wrong and…POP goes the lens!
-
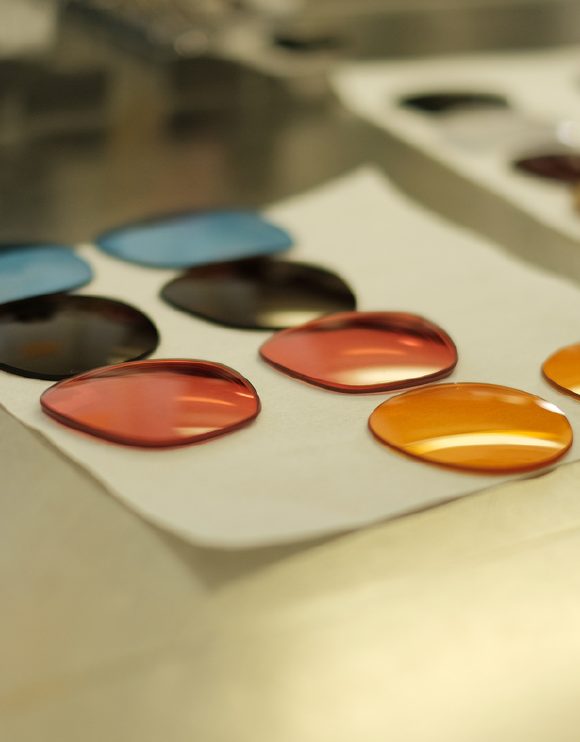
Step 12 of 14
Tinting
Our tinting area is pure magic. Tints can be cosmetic, but many people find them helpful for reducing symptoms of concussion or migraine. Our dyes absorb into almost any lens material, and our tint specialists pass a color vision test so every match is accurate.
-
Step 13 of 14
Thin Film Coating (AR or Mirror)
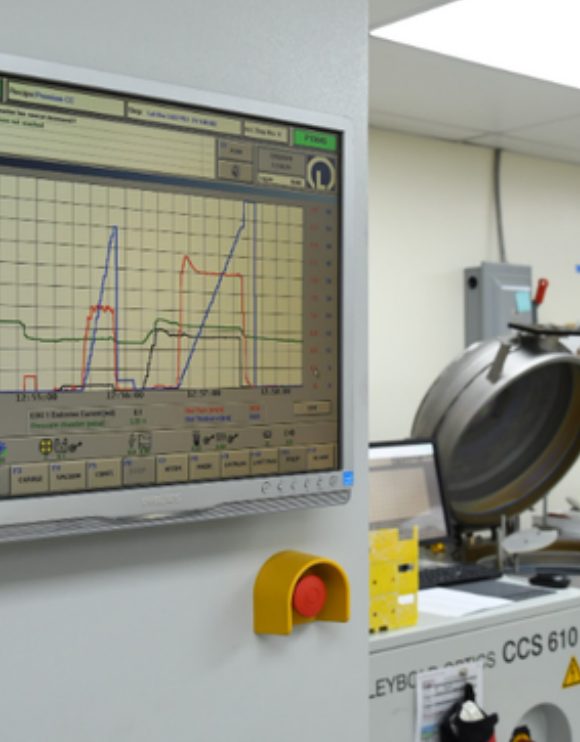
Thin film coating is truly fascinating. Lenses go into a vacuum chamber, where an electron beam (picture a tiny bolt of lightning) vaporizes a few chemicals in a set order. That order decides whether reflections are removed (anti-reflective coating) or built up (mirror coating).
-
Step 14 of 14
Final Inspection
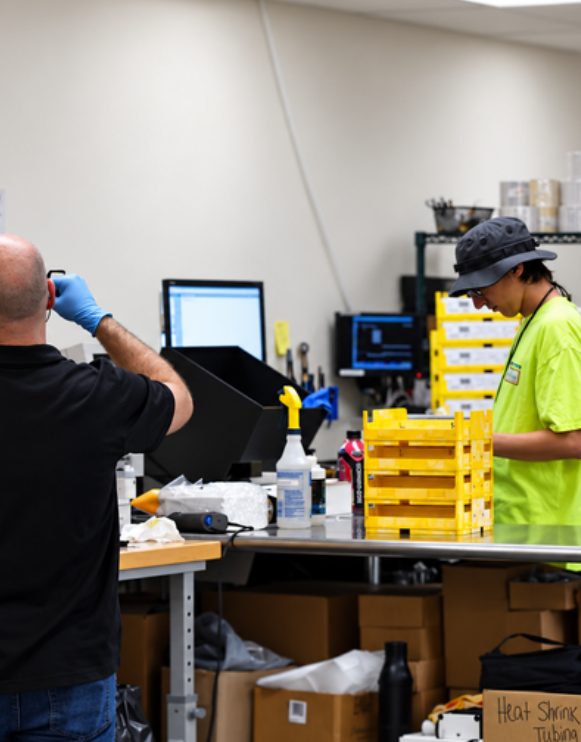
This is the final stop. Every single pair of glasses we make is checked by hand to meet ANSI standards, then inspected cosmetically to make sure it’s something you’re proud to wear. From there, it’s ready for your fitting, right here in Schwenksville.
Step 1 of 14
Eyeglasses & Frames
Come Find Your Next Pair
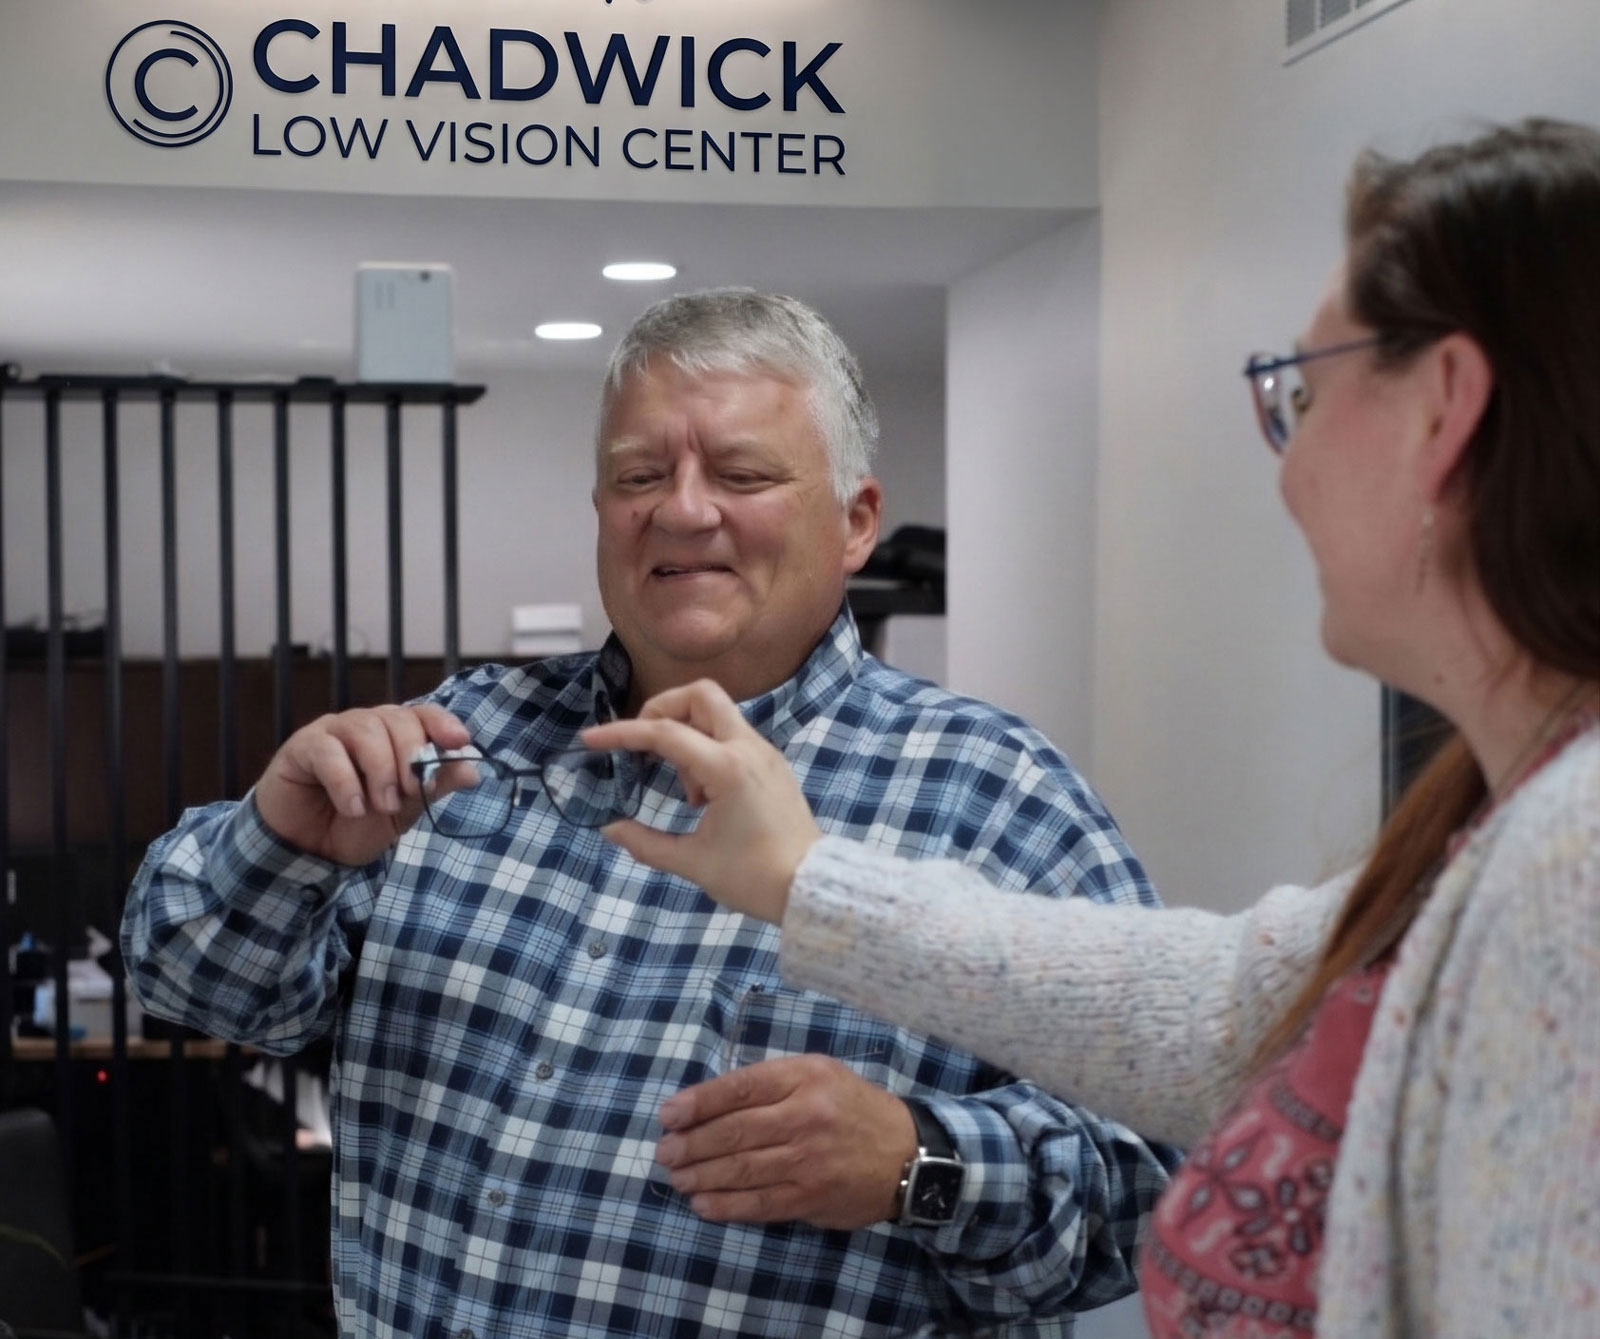
Bring your prescription and the glasses you wear now. We’ll help you choose frames you love, then make your lenses in our own lab, steps from where you sit.
Walk-ins are welcome. Booking ahead sets aside time just for you.